


Flipping a breaker for the third time this month while wondering whether your home’s wiring can actually handle a modern kitchen appliance, an EV charger, and a smart thermostat at the same time is not just frustrating. It’s a warning sign. A large share of homes in Edmond and the Oklahoma City area were built decades ago, and many still carry the original wiring that was designed for a far simpler electrical life. A clear, professional wiring workflow is the difference between a home that runs safely and efficiently and one that quietly accumulates risk with every plugged-in device.
Table of Contents
- What is a residential wiring workflow?
- Key prerequisites: Planning and preparation
- Step-by-step: The residential wiring workflow in action
- Inspection, compliance, and post-installation checks
- What most homeowners overlook about residential wiring projects
- Ready for a safer, more efficient wiring upgrade?
- Frequently asked questions
Key Takeaways
| Point | Details |
|---|---|
| Start with expert planning | Proper upfront planning and safety checks set the stage for a smooth wiring project. |
| Follow a proven workflow | Step-by-step execution eliminates risk and improves energy efficiency for your home. |
| Never skip inspection | Complete inspections and code checks are vital to long-term safety and passing local requirements. |
| Professional expertise pays off | Using experienced contractors prevents mistakes and uncovers upgrade opportunities you might miss. |
What is a residential wiring workflow?
A residential wiring workflow is a structured, phase-by-phase process that licensed electricians follow when wiring, rewiring, or upgrading a home’s electrical system. It is not a single task. Think of it like a blueprint for a construction project: every step has a purpose, a sequence, and a set of standards it must meet before the next phase begins.
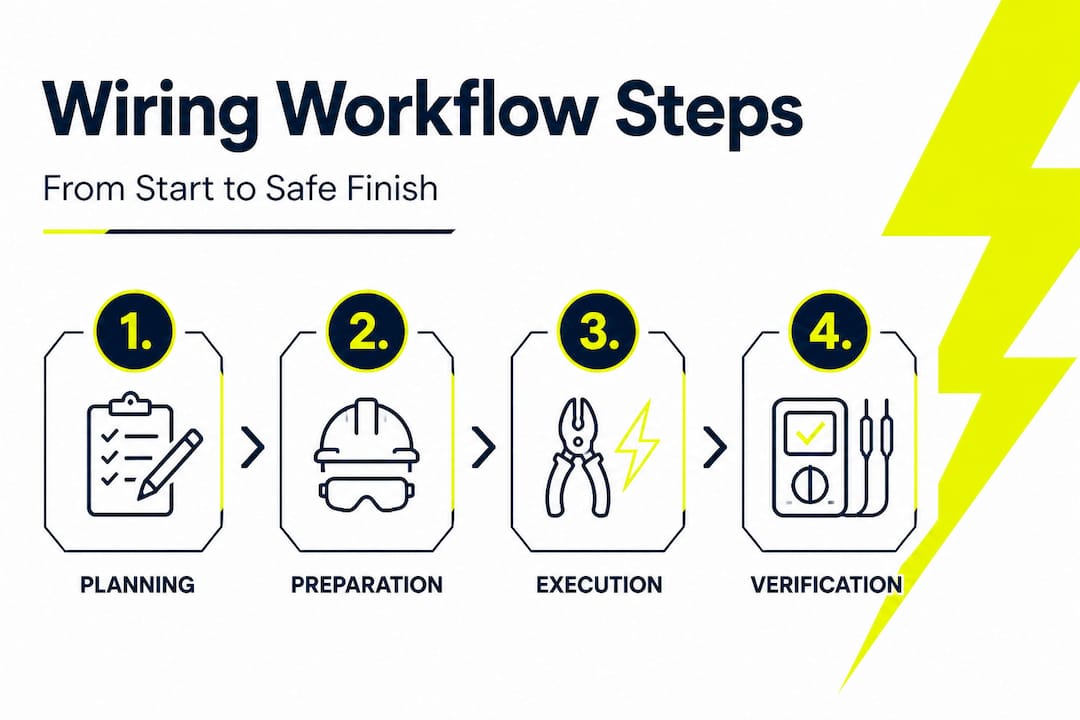
The four core phases are planning, preparation, execution, and verification. Each phase builds on the one before it. Skip the planning stage and you may install circuits that overload your panel. Rush past verification and you may miss a code violation that shows up months later as a fire hazard.
One thing that surprises many homeowners is how different residential wiring is from commercial work. The differences in commercial wiring go far beyond scale. Commercial projects deal with three-phase power systems, higher voltage distribution, and entirely different code classifications. A home wiring workflow prioritizes personal safety, household energy loads, and livability, while a commercial workflow centers on operational continuity, industrial-grade compliance, and far greater electrical demand. Understanding residential installation basics helps set the right expectations from day one.
Residential vs. commercial wiring: a quick comparison
| Factor | Residential wiring | Commercial wiring |
|---|---|---|
| Power type | Single-phase (120V/240V) | Three-phase (up to 480V) |
| Primary concern | Family safety, comfort | Operational uptime, compliance |
| Code authority | Local building codes, NEC | NEC plus OSHA, industry-specific codes |
| Typical project scope | Panel upgrades, circuit additions | Complete building systems |
| Inspection focus | Outlet placement, grounding, safety | Load calculations, distribution panels |
Main stages of the residential wiring workflow
- Site assessment and electrical load planning
- Permit application and approval
- Rough-in wiring (before walls are closed)
- Device and fixture installation
- Final connections and panel work
- Testing and inspection
- Certificate of occupancy or project sign-off
Each stage has a defined outcome. The workflow is linear by design because electrical systems depend on prior work being correct before the next layer is added.
Key prerequisites: Planning and preparation
Before a single wire is pulled, a proper residential wiring project requires a solid foundation of legal, technical, and logistical preparation. This stage is where many homeowners, and frankly some contractors, cut corners. The consequences often show up later in the form of failed inspections, unexpected costs, or outright safety hazards.

Planning wiring for safety starts with a thorough assessment of your home’s current electrical state, your anticipated energy needs, and whether your existing panel can support new loads. In older Edmond and OKC homes, this step often reveals surprises: undersized panels, aluminum branch wiring, or circuits that have been modified by previous owners with questionable skill.
Permits are not optional. Oklahoma requires permits for most electrical work beyond basic fixture swaps. Skipping the permit process does not just put you at legal risk. It can void your homeowner’s insurance and create serious problems when you sell. Understanding panel hazards homeowners must know is a critical part of the pre-project assessment, especially in homes where the panel has not been evaluated in years.
Common planning mistakes to avoid
- Skipping the permit process to save time or money
- Underestimating the electrical load for new appliances, EV chargers, or HVAC equipment
- Failing to map existing circuits before adding new ones
- Ignoring future upgrade needs (smart home tech, backup generators, solar)
- Assuming the existing panel can handle new demands without a load calculation
- Neglecting to check for knob-and-tube or aluminum wiring before planning upgrades
Pre-project preparation checklist
| Preparation item | Why it matters |
|---|---|
| Permit application | Legal requirement; triggers code compliance |
| Professional load calculation | Prevents overloading circuits and panels |
| Circuit mapping | Avoids conflicts with existing wiring |
| Material and tool inventory | Reduces delays and job site errors |
| Code review (NEC + local) | Ensures installation will pass inspection |
| Panel capacity check | Identifies whether an upgrade is needed |
Pro Tip: A well-documented plan, including a circuit map and a load calculation, can cut inspection time in half and catch problems before they become costly field changes. Electricians who prepare this documentation upfront rarely face reinspection fees.
Step-by-step: The residential wiring workflow in action
Once preparation is locked in, the hands-on work begins. This is the phase most homeowners picture when they think about wiring, but it is far more methodical than it appears. Every action in the execution phase follows directly from the planning work that came before it.
A full electrical installation process moves through a specific sequence that protects both the workers on site and the family that will eventually live with the results.
The execution sequence, step by step
-
Mark outlet, switch, and fixture locations. Using the approved plan, mark every box location on studs and ceilings before drilling or cutting begins. This prevents costly re-dos.
-
Drill and notch framing. Create pathways for wire runs through studs, joists, and plates. All notches require nail plates to protect wires from drywall screws and future fasteners.
-
Pull rough-in wiring. Run wire from the panel location to each outlet, switch, and fixture box. This is called rough-in because the walls are still open at this stage.
-
Install electrical boxes. Secure all outlet, switch, and junction boxes at the correct heights per code. Depth matters: boxes must sit flush with the finished wall surface.
-
Make rough-in connections. Strip, connect, and properly seat wire terminations in each box. Leave enough tail wire for device installation after drywall.
-
Rough-in inspection. A licensed inspector reviews all wiring before walls are closed. This is a legally required pause point in most jurisdictions.
-
Close walls and proceed with finishes. After inspection approval, drywall and other finishes go in. The wiring is now protected.
-
Install devices and fixtures. Outlets, switches, light fixtures, and other devices get installed and wired to the rough-in connections.
-
Panel connections and breaker installation. All circuit conductors are landed in the panel, breakers are installed, and the panel is labeled clearly.
-
Final testing. Every circuit is tested for continuity, proper voltage, and correct grounding. GFCI and AFCI protection is verified.
Pro Tip: In older Edmond and OKC homes, you will frequently encounter mixed wiring systems, older cloth-sheathed wiring running alongside modern Romex. Never connect old and new wiring without a proper junction box and connector rated for the wire types involved. Tucking a splice inside a wall without a box is a code violation and a fire risk.
Safety first: Never skip a required inspection or attempt to close walls before the rough-in is approved. Bypassing this step is not just a code violation. It means potential hazards are permanently hidden behind your drywall, invisible until something goes wrong.
Inspection, compliance, and post-installation checks
Wiring that looks right is not the same as wiring that is right. The inspection and compliance phase exists precisely because even experienced professionals benefit from an independent review. For homeowners, this is the stage where you want to pay close attention and ask questions.
Upgrading wiring for efficiency goes hand-in-hand with compliance. Inspections confirm that the work meets the National Electrical Code (NEC) as adopted in Oklahoma, as well as any local amendments that Edmond or OKC may have added. Inspectors check grounding, wire gauge, device placement, panel labeling, GFCI and AFCI protection, and load calculations. Understanding the full inspection steps for wiring helps you know what to expect and how to prepare your project for a clean pass.
Signs your wiring project meets safety and efficiency standards
- All circuits are labeled clearly in the panel
- GFCI outlets are installed in kitchens, bathrooms, garages, and outdoor locations
- AFCI breakers protect bedroom and living area circuits
- Wire gauges match the breaker amperage (no oversized breakers)
- All junction boxes are accessible and covered
- Grounding conductors are properly connected at devices and panel
- No exposed splices outside of approved enclosures
- The panel cover is in place and screws are tightened
DIY checks vs. professional inspection
| Check type | DIY visual check | Professional inspection |
|---|---|---|
| Outlet functionality | Plug-in tester works | Verified with calibrated equipment |
| Grounding status | Tester shows ground present | Measured with ground resistance equipment |
| GFCI protection | Test/reset buttons function | Confirmed by code-required placement |
| Breaker sizing | Labels match apparent wire size | Load calculation reviewed against NEC |
| Arc fault protection | Breaker present | Verified by code zone and circuit type |
| Overall compliance | Appears correct | Legally documented and signed off |
One commonly overlooked post-installation step is load verification under real conditions. Running multiple high-demand appliances simultaneously and checking for any breaker trips or voltage sag gives you confidence that the system performs as designed, not just as calculated on paper.
What most homeowners overlook about residential wiring projects
Here is something we have seen play out more times than we can count: a homeowner invests in a solid wiring project, the inspector signs off, and everyone walks away satisfied. Then six months later, a new dishwasher trips the kitchen circuit, or a whole-home generator quote reveals that the panel still cannot handle the load. The workflow was followed, but the bigger picture was missed.
The truth is that a wiring project is rarely just about the wires. It is an opportunity to assess your home’s entire electrical strategy. Surge protection, whole-home grounding improvements, smart circuit breakers, and EV charging readiness are upgrades that integrate most naturally and most affordably during a wiring project, not as standalone add-ons later.
Documentation is another area where even careful homeowners fall short. A completed wiring project should come with an updated circuit directory, copies of all permits and inspection approvals, and ideally a wire routing diagram. This paperwork protects you during a home sale, speeds up any future electrical work, and gives any electrician who touches your home in the future a clear picture of what they are working with.
Local knowledge matters more than most people realize. Edmond and OKC have specific code interpretations and common home construction patterns that an experienced local electrician anticipates automatically. An out-of-state contractor or a generalist unfamiliar with Oklahoma’s climate and construction history may miss issues that a seasoned local professional catches before they become problems.
We strongly encourage pairing any wiring project with comprehensive system assessments. Seeing your home’s electrical system as a whole, rather than a collection of individual circuits, is the mindset that separates a good project from a great one. The best outcomes come from electricians and homeowners who think about the next 20 years, not just the next inspection.
Ready for a safer, more efficient wiring upgrade?
You now have a clear picture of what a well-run residential wiring project looks like from start to finish. Knowing the steps is the first move. Working with a team that executes them correctly every time is what actually protects your home and your family.

Shepherd Electrical serves homeowners across Edmond and the Oklahoma City Metro with end-to-end residential wiring services, from the initial assessment through final inspection and beyond. Whether you are planning a full rewire, adding circuits for new appliances, or investigating a persistent electrical issue, our licensed electricians bring the local expertise and safety-first approach your project deserves. Explore Shepherd Electrical’s full-service options, learn what goes into choosing the right contractor for your project, or get started with wiring upgrades in Edmond today. Book your consultation online and take the first step toward a safer, more efficient home.
Frequently asked questions
How long does a residential wiring project usually take?
Most residential wiring projects in Edmond and OKC take anywhere from several days to a couple of weeks, depending on the home’s size, complexity, and whether unexpected issues like old wiring or undersized panels are discovered during the work.
Do I need to upgrade my wiring if my home is older than 40 years?
Homes over 40 years old typically require electrical upgrades to meet current safety and efficiency standards, as older panels carry significant fire and safety risks that modern equipment eliminates.
Can I DIY my residential wiring workflow?
DIY residential wiring is not recommended because local permits and codes require licensed work in most situations, and mistakes in wiring create hidden hazards that can persist for years before causing a fire or shock injury.
What are obvious signs of wiring problems in my home?
Common warning signs include frequent breaker trips, flickering or dimming lights, outlets that feel warm to the touch or spark when you plug something in, and a burning smell near outlets or the panel.
How do I ensure my project passes inspection?
Follow all permit requirements from the start, have a licensed electrician perform the work using code-compliant materials, and review the inspection checklist for homeowners so you know exactly what the inspector will evaluate before they arrive.